
What is WordPress?
Creating a website by writing HTML code, integrating CSS styles, and debugging a website’s backend are daunting tasks even for experienced professionals. WordPress and Elementor work together to make coding a thing of the past, enabling anyone to quickly create a professional website.
In this guide, we’ll take a look at what WordPress and Elementor are and how they work together to save you time developing sleek professional websites.
Let’s first take a look at WordPress.
WordPress

WordPress is a content management system (CMS) that simplifies the process of creating blogging websites.
At it’s core, it’s a user-friendly way to create the database underpinning your website without any need to know SQL, the standard database language. In addition to being designed for non-programmers, WordPress is an open-source platform; meaning it’s free to use. This open source approach led to the growth of a large and thriving global WordPress community in which members create themes and plugins to help others build their websites, and extend WordPress’s capabilites.
Elementor is one such plugin that has found popularity within the community thanks to its powerful editing and site building tools – tools which make building professional WordPress sites even more efficient and intuitive.
Did you know? WordPress powers ~43% of all websites on the internet!
WordPress.org
WordPress.org provides you with the software to create your own website. It can be referred to as self-hosted WordPress because you are responsible for hosting or, in most cases, finding a third-party, to host your site. So while the software is free, you will most likely have to pay for someone to host your site. There are a few other limitations:
- No drag and drop editing capabilities
- You are responsible for backing up and maintaining your site
- You are responsible for the security of your site
Where does Elementor fit in?
Elementor is a popular WordPress website and webpage builder plugin that brings its own tools to the WordPress world. Perhaps the easiest way to look at it is that WordPress provides a building’s framework, while it’s Elementor that lets you build the beautiful mansion resting on this infrastructure.
One of the key tools allowing you to build your “mansion” is the Elementor Editor. This visual drag and drop editor allows web creators to seamlessly build webpages capable of sophisticated, dynamic functionality.
By using the editor to drag and drop widgets onto your page, you can save time creating your masterpiece. It means working more intuitively, with no need to code in order to create a professional website.

Theme Builder
While the Elementor Editor allows you to build beautiful web pages, the Theme Builder allows you to put these pages together to create an entire website. Using the Theme Builder you create headers and footers for your pages, templates allowing you to create uniform pages and posts and even a creative, fun 404 page designed just for your site. I have used the Hello Theme for both MCTC & CTBC websites.
Hello Elementor is a lightweight and minimalist WordPress theme that was built specifically to work seamlessly with the Elementor site builder plugin. The theme is free, open source, and designed for users who want a flexible, easy-to-use, and customisable website. The theme, which is optimised for performance, provides a solid foundation for users to build their own unique designs using the Elementor drag-and-drop site builder. Its simplicity and flexibility make it a great choice for both beginners and experienced web creators.

Not only that, if you don’t have the time, or inclination to design your own site, Elementor comes with a kit library filled with ready-to-use sites that you just need to add your own content to.
Along with the free version of Elementor, there’s Elementor Pro, which is designed to give you more advanced professional features. These powerful tools include drag and drop ecommerce tools, embedded forms, and customizable features.
If you’ve had to code your own websites you know these features can take days to implement and test successfully. With Elementor and Elementor Pro, drag and drop means hours not days to complete a project. It also means you’re not worrying about how your code is working or how it might break.
The bottom line
WordPress was built, and does a great job of, holding the content of a website. Elementor was created with design in mind, making the process of building attractive, sophisticated, professional websites faster and more efficient. Drag and drop editing, the Theme Builder, the Kit Library, all combine to make Elementor a popular plugin to use on any WordPress website project. Elementor is a visual editor that keeps your workflow lean while providing you with a professional website when you’re done!
This overview explains the most important points about WP Admin, especially those parts most heavily used in conjunction with Elementor.
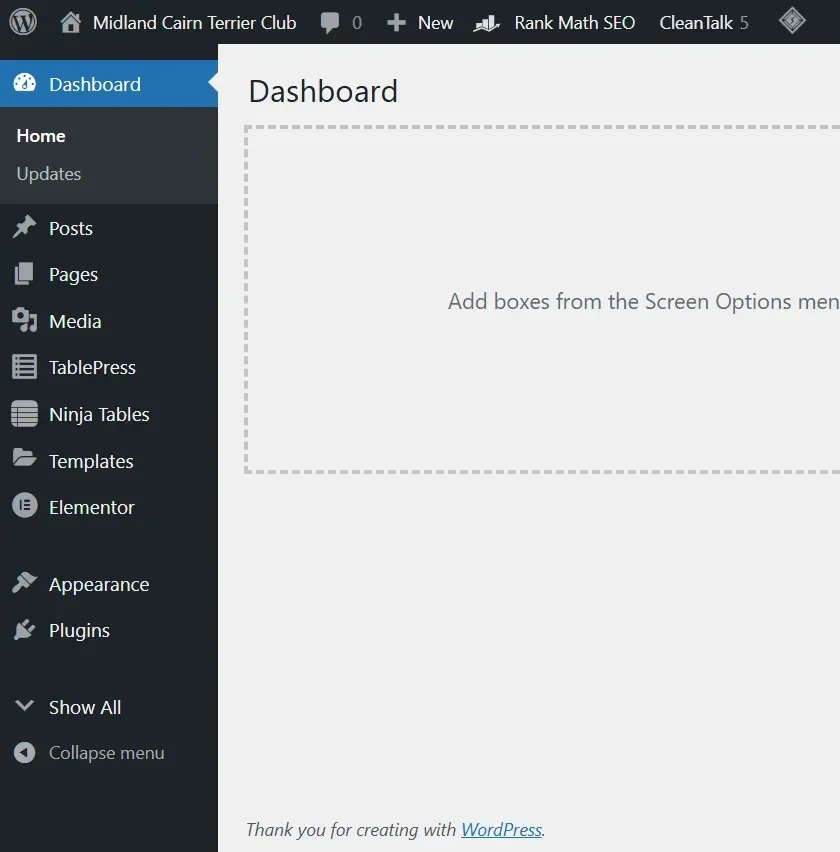
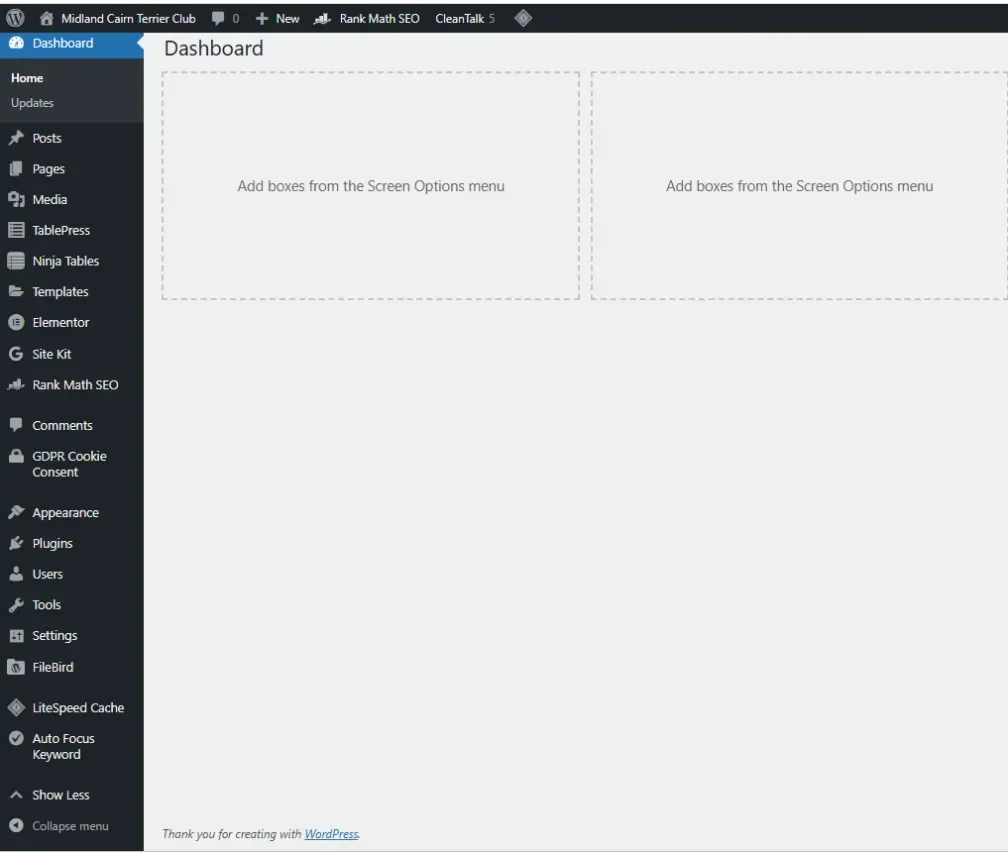
WP admin contains a top bar and 11 standard tabs:
- Posts
- Media
- Pages
- Comments
- Elementor
- Templates
- Appearance
- Plugins
- Users
- Tools
- Settings
Additional tabs like Light Speed Cache, Rank Math SEO also appear on WP Admin.
Starting at the top, let’s take a look at the top bar!
Top bar
You can use the top bar to visit the WordPress official website and your Elementor website, check out comments, create new pages, posts, add media, tweak Site Lock mode, and more. You can access your User Settings.

The top bar of WP Admin gives you access to the following:
| WordPress logo | Click this to visit the official WordPress website. |
| Your site name | Click this to visit your Elementor website. |
| Comments | View the comments visitors left on your webpages. |
| New | Use the dropdown menu to create a new page, in addition to the media library, post, landing page, template or user. |
| Site lock | Indicates your page is inaccessible to visitors unless they have a code. For more details, see Site lock. |
| Support (Elementor Hosting users only) | Submit a support ticket or open support chat. |
| User settings | Access your user settings. This is located on the right-hand side of the top bar. |
Posts Tab
The Posts tab lets you create, manage, and edit the posts on your website.

| All Posts | See a list of all your site’s posts. Hover over a post, and select Edit with Elementor to edit the post. |
| Add New | Create a new post for your site. |
| Categories | Create, delete or edit your post’s categories. Categorizing your posts allows you to organize them more easily and helps you direct visitors to the information they’re looking for. |
| Tags | Create, delete or edit your post’s tags. Tags are a great way for search engines to find your posts. |
Media Tab
Add your site’s images, videos and audio files to the Media Library.
| Library | A gallery management tool for your website. The Media Library contains all the pictures and videos available to you.in your media library. Here you can view, edit captions and metadata, delete, and search for your media. |
| Add New | Click this to Upload media to your website. |

Media Add New screen
The Media Add New Screen allows you to upload Media (Images, video, files, etc.) for later use in your posts and pages. This screen allows you to both add single items as well as perform bulk uploads, if you wish to add more than one media item to your Media Library.
Upload New Media
Uploading media from your local computer into the Media Library is quite simple. Two ‘uploader’ methods, Multi-File Uploader and Browser Uploader, are provided. The Multi-File Uploader is the primary method for adding media to the Media Library, but if doesn’t work then click the “Browser Uploader” link to use the Browser Uploader.

Media Upload screen
You will also see a message displayed at the bottom of your view that indicates maximum upload size for files, as set by your hosting provider.
Multi-File Upload
Multi-File Upload
- Drag-and-Drop – If you are using a web browser that supports HTML5 then you will see an active upload area (indicated by a dashed border) where you can “drag-and-drop” files from your computer to this area to upload them to the Media Library. You can upload files one at a time, or you can add multiple media items by dragging and dropping a group of files in this area.

- Select Files – If drag-and-drop is not working for you, click on the Select Files button, which will launch a file browser that allows you to find and select (by clicking) the files you want to upload. Multiple files can also be selected by holding down the Ctrl key (Cmd key on a Mac) and clicking on each file you wish to upload. After all the files are selected, click on the Open button to begin uploading.
As your files are uploaded, a status bar will be displayed next to each one to indicate progress.

When the uploading is complete, a thumbnail of the media is displayed. Once your upload is complete, you may click on the Edit link to edit and save the information about that media files (see the Edit Media page for more information) if you wish.
You may also click on the ‘Copy URL to clipboard’ button to copy the URL of the file you uploaded.
Browser Uploader
Uploading via the Browser uploader:
- Browse – Click this button, and then from the File Upload window, find and click the file to upload, then click the Open button. The Media file name will be placed in the text box to the left of the Browse button.
- Upload – Once a Media file name is displayed in the text box to the right of the Browse button, click the Upload button to upload that Media. At that point the Media Library Screen is displayed.
- Cancel – If the Upload is not working or is taking a prolonged period of time, click the Cancel button to cancel the Upload process.
Media library
The Media Library Screen allows you to edit, view, and delete Media previously uploaded to your blog. Multiple Media objects can be selected for deletion. Search and filtering ability is also provided to allow you to find the desired Media.
Media Library provides two type of views. One is simple visual Grid View and another is conventional List View. Switch between these views using the icons to the left above the screen.
Edit Media
Overview
The Edit Media page is where you manage information about your media that is saved in the Media Library. To reach the Edit Media page, go to Media > Library and click the name of the media item or the Edit link that appears below the name on hover. You can also reach this page by clicking on the Edit link when adding new media to your site.
The data entered on the Edit Media page is often used by attachment pages and galleries if the theme or plugin chooses to display it, and the data is also used as the default values at the time an image is inserted into a page. Once the image has been inserted as an individual image, it becomes disconnected from the data in the media library and you can use the Image Details screen to update it on a per-image basis.
In addition to managing meta data such as title, caption, alt text, and description, there are also added controls for performing basic media edits such as rotating, scaling, and cropping images. For more information see the Edit Image section.

Edit media showing the options
Title
The name of the media. A title is displayed in the File column of the Media Library Screen and is often shown on attachment pages and galleries if themes or plugins are designed to display it.
Permalink
This is the URL of the media attachment page. There is also a link to view the attachment page. Next to this, there may be a button to edit the permalink—if there isn’t, you can change the permalink by activating ‘Slug’ from the screen options and changing the slug’s value.
Edit image button
(Image files only) allows you to make edits such as rotate, scale, and crop.
Caption
A brief explanation of the media.
Alternate text
The alt text for the image, e.g. “The Mona Lisa” to describe the media. Used for accessibility.
Description
An explanation of this particular media.
File URL
Read only display of a direct link to the media file.
Copy URL to clipboard:
Click to copy the URL of the file you are editing into the clipboard.
Download file
Makes it easier for users to download their uploaded media by providing a download link on the attachment details screen and in the media modal.
Save meta box
Displays information about your media, such as the upload date, web address, file name, type, size, and dimensions. Also includes actions to Delete Permanently or Update any change you have made.
More edit media options
Screen options in Edit media page
Note: The following Meta Boxes may not be visible by default. You can enable them by clicking on the Screen Options tab at the top right of the Edit Media page.
Discussion
Turn the ability to leave comments and/or trackbacks on the media attachment page on or off
Comments
List of current comments saved for this media file
Slug
the attachment page slug
Author
the Author for the media
Edit image

Edit image
Clicking the Edit Image button launches the image editor screen, giving you access to several useful image editing controls. The edits you make to your image are non-destructive and you can restore the image to its original (uploaded) specifications at any time. Here are the various controls available to you in this Edit Image mode:
Crop
To crop the image, first, click on the image and drag to make your selection. Once a selection has been made, then click the crop icon above the image to finalize the crop. You can use the Aspect ratio and Selection option to make further adjustments or use keyboard shortcuts to fine-tune your crop selection before clicking the crop icon.
Rotate left button
Rotate the image 90 degrees counter-clockwise.
Rotate right button
Rotate the image 90 degrees clockwise.
Flip vertical button
Flip the image upside-down.
Flip horizontal button
Flip the image left-to-right.
Undo/Redo button
Remove or restore your last edit. You can click as many times as you want in succession to “step” through the edit history.
Scale image
Proportionally scale the original image. For best results, scaling should be done before you crop, flip, or rotate. Images can only be scaled down, not up. The original dimensions are displayed as a guideline above the box for entering new dimensions. Click Scale button to display the new scaled image.
Also Restore Original Image button appears to allow you restore the change.
Restore original image
If changes have been made to an image, the Restore Original Image pull-down allows you to discard any changes and restore the original image. Previously edited copies of the image will not be deleted. Press the Restore Image button to complete the action.

Restore original image
Image crop
Used in combination with the Crop icon, this tool allows you to make the following precise adjustments:
- Crop aspect Ratio: You can specify the crop selection aspect ratio then hold down the Shift key while dragging to lock it. The values can be 1:1 (square), 4:3, 16:9, etc. If there is a selection, specifying aspect ratio will set it immediately.
- Crop selection: Once started, the selection can be adjusted by entering new values (in pixels). Note that these values are scaled to approximately match the original image dimensions. The minimum selection size equals the thumbnail size as set in the Settings Media Screen.
Thumbnail settings
WordPress thumbnails are smaller, usually square, versions of your main image. They are automatically created each time you upload a new image.
Pages Tab
The Pages tab allows you to access all the pages on your site. You can create pages by clicking Add New, and edit them by selecting Edit with Elementor.
| All Pages | A list of all your site’s pages. Hover over a post and select Edit with Elementor to edit the page. |
| Add New | Create and edit a new page by selecting Add New, and then Edit with Elementor. For more details, see Create or open a page |

Comments Tab
The Comments tab lets you moderate, edit, and delete comments on your website.

Elementor Tab
The Elementor tab contains settings and controls relevant to the Elementor plugin. It includes the following:

| Settings | Control default types and allow data sharing in the General tab, connect to third-party software in the Integrations tab,control features in the Advanced tab, and activate/deactivate experimental features in the Features tab. |
| Submissions | Access information visitors submitted using your website’s forms. |
| Custom Fonts | Add or Edit your site’s custom fonts. |
| Custom Icons | Add or Edit your site’s custom icons. |
| Custom Code | Add sitewide Custom Code to your site, for example, Google Tag Manager (GTM). |
| Role Manager | Assign roles to people with access to your website. Boost website security by making sure people have enough access to complete their tasks but no more than that. For more details see, Add a user. |
| Tools | Maintain and debug your website, import and/or export a website kit. |
| System Info | Lists details about your site’s server environment. This information is often needed when debugging your site. |
| Getting started | View the video, Getting Started with Elementor. |
| Get Help | Clicking this takes you to the Elementor Help Center. |
Templates Tab
Work more efficiently by creating and using templates and website kits.

The Templates tab features the following:
| Saved Templates | Access templates you created and saved. These templates can be reused on this site or exported for use on other sites. For more details, see What is a Template? |
| Popups | Access popups you created or create a new popup. These popups can be reused on this site or exported for use on other sites. For more details, see Create a popup. |
| Theme Builder | Opens the Elementor Theme Builder. For more details, see What is the Theme Builder. |
| Landing Pages | Access landing pages you created or create a new landing page. For more details, see What are landing pages? |
| Kit Library | Apply a website kit to your site. For more details, see Apply a kit to your site. |
| Add New | Create a new template. |
| Categories | Create, delete or edit your post’s categories. Categorizing your posts allows you to organize them more easily and helps you direct visitors to the information they’re looking for. |
Appearance Tab
Themes are the framework of any WordPress website. Therefore, all WordPress websites must have the theme. The Hello Theme was created by Elementor especially to work with the Elementor plugin.

| Themes | Choose a theme for your website. We recommend Elementor’s Hello Theme. For more details, see What is the Elementor Hello Theme? |
| Customize | Change site settings such as the site setting, menus and the header and footer. Many of these settings can be changed within Elementor. For more details, see Configure Site Settings. |
| Menus | Create links to your site’s pages to make navigation easier. Menus can also be created using the Menu widget. For more details, see Menu widget. |
Plugins Tab
Inside the Plugins tab, you can search, update, install, activate/deactivate, enable/disable auto-updates, and delete plugins.

| Installed Plugins | Access a list of all the plugins you’ve added to your site. For more details, see Activate & deactivate plugins. |
| Add New | Look for plugins to add functionality to your site. For more information, see Install WordPress plugins. |
Users Tab
The Users tab lets you add new users to your website and edit the permissions of existing users.

| All Users | Access a list of people with access to your website as well as their level of access. These could be clients or team members. |
| Add New | Give someone permission to access your website. For more details, see Add a user. |
| Profile | Manage your personal information such as the language you work in and color scheme. |
Tools Tab
Features to help you build and maintain your site.

| Import | Move your website from it’s current location to this server. |
| Export | Move your website from this server to another one. |
| Site Health | Access a list of recommendations to speed up your site. |
| Export Personal Data | Create a zip file with a website visitor’s personal information. Some jurisdictions may require this capability. |
| Delete Personal Data | Erases all data you collected about a website visitor. Some jurisdictions may require this capability. |
Settings Tab
The Settings tab includes settings tools like General, Writing, Reading, Discussion, Media, Permalinks, Privacy, and Limit Login Attempts.
This tab controls basic functionality such as access to your site.

| General | Access and edit basic information such as the site’s name and tagline. |
| Writing | Control the default category of posts and enable posting by email. |
| Reading | Control settings for your homepage how visitors will view post archives. |
| Discussion | Controls the interactions between website owners and visitors. |
| Media | Control the site’s image sizes. |
| Permalinks | Control the URL structure of your site. For more information, see What are Permalinks? |
| Privacy | Allows you to set up a privacy policy page. Some jurisdictions may require this capability. |
| Limited Login Attempts |
Create Post
To create your first post go to the “Posts” in the left sidebar and press the “Add New” button.
An editor will open and you will see the white working space without excess elements. Add the post title in the special field at the top and then click Blue “Edit with Elementor” Button.
![]()
We can now add the text box by clicking on + sign top left to bring up widgets and then drag “Text Editor” widget over + sign in center of screen.
![]()
You can then replace “Lorem ipsum dolor sit amet, consectetur adipiscing elit. Ut elit tellus, luctus nec ullamcorper mattis, pulvinar dapibus leo.” in text box on left of screen with whatever you like and use the Text Editor to format as required.
![]()
If you want to add an image below text then repeat what you did with “Text editor” but replace with “Image” widget, as before drop this over center + icon.
![]()
Then click on choose image on left which will take you to Library where you can either selct an image already downloaded in one of the directories or upload a new image from your local drive. You can change size of image by using Image Resolution Tab on Left, to se change whilst editing click on Style Button Top Left.
![]()
You can click Stlye button to add a border or round ff coreners etc.
![]()
If finished click on preview button next to pink Publish button top right. This will open another tab with Full Screen of Post. If happy go back to tab you was workin on and click Publish.
Adding Facebook Article Post
Please see below video showing how to create FB Post.